Update Customer Identifier
Update a Customer Identifier using the Axis Dashboard.
You can update a Customer Identifier by adding a receiver for it. For example, if you had created a Customer Identifier with only a bank account receiver earlier, you can now add a VPA receiver to it.
Watch Out!
If you had created a Customer Identifier with a receiver, for example, bank account, you cannot add another bank account receiver or replace it. Similarly, if you had created a Customer Identifier with only a VPA receiver, you cannot replace or update it.
To Enable UPI transfer for a Customer Identifier:
- Log in to the and click Smart Collect.
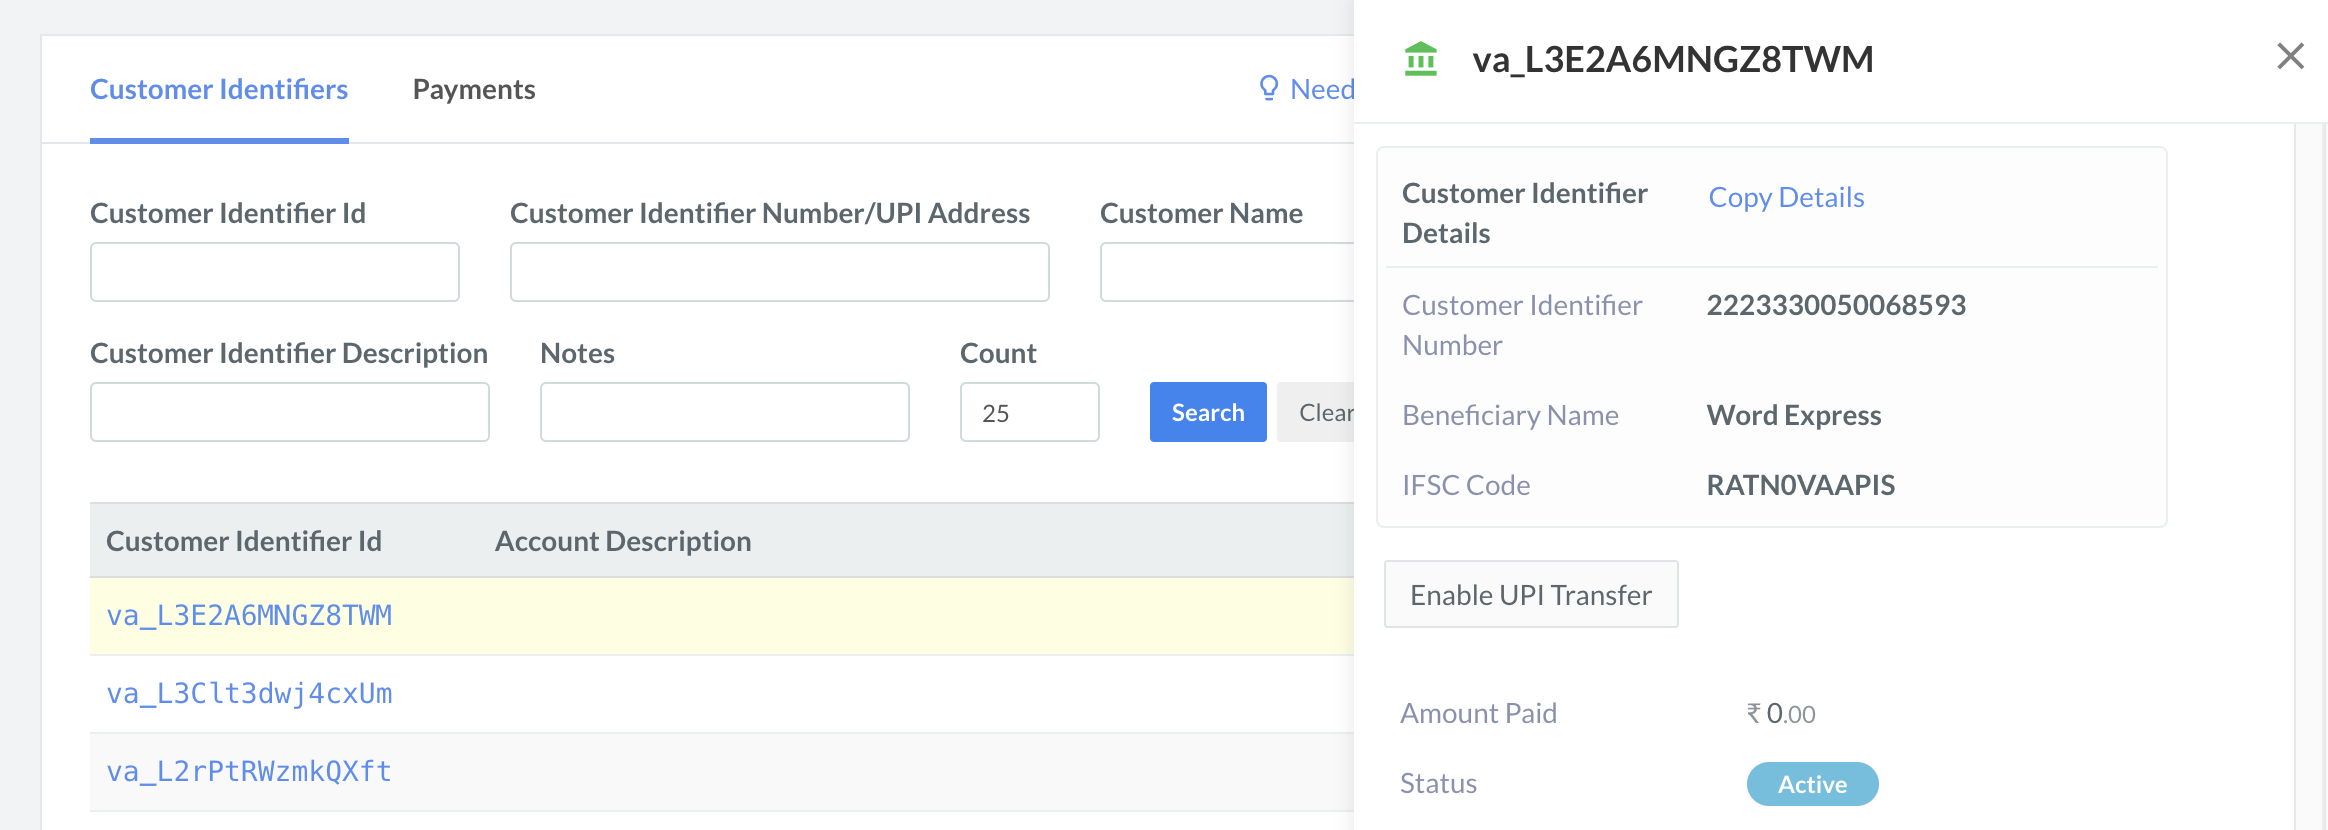
- In the list of Customer Identifiers, select the Customer Identifier ID.
- In the right pane that appears, click Enable UPI Transfer.
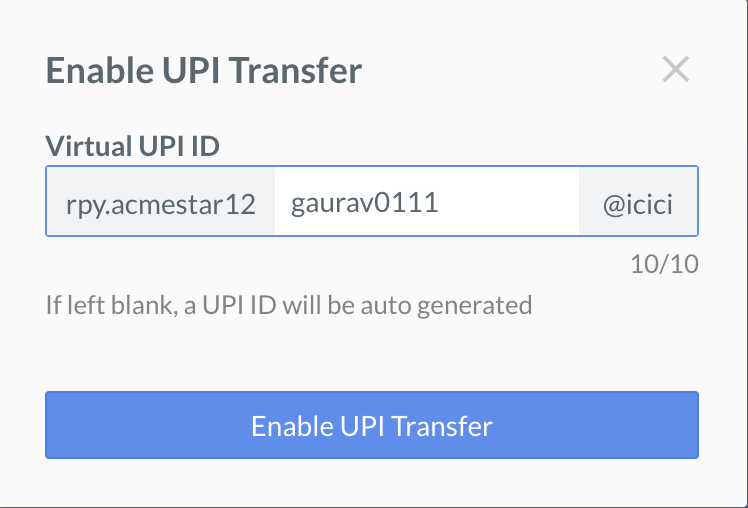
- Enter the UPI ID descriptor in the dialog box. Click Enable UPI Transfer.
To Enable Customer Identifier transfer for a Customer Identifier:
- Log in to the and click Smart Collect.
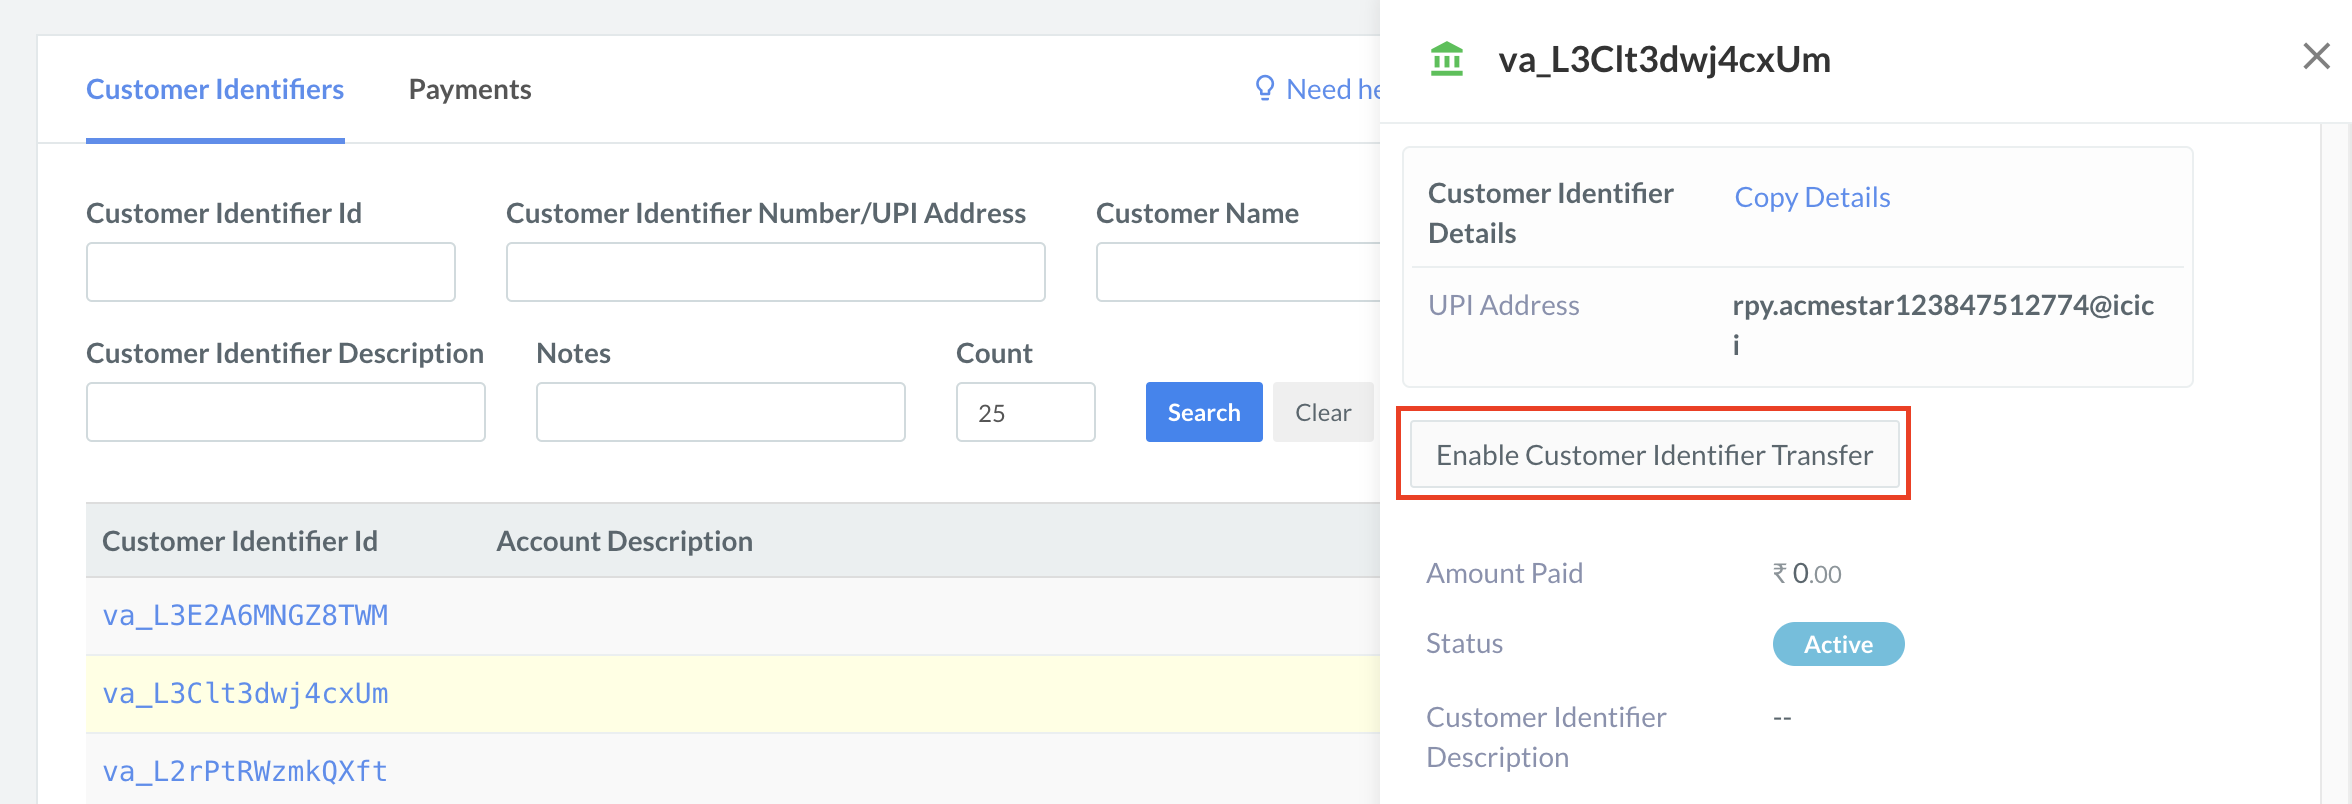
- In the list of Customer Identifiers, select the Customer Identifier ID.
- In the right pane that appears, click Enable Customer Identifier Transfer.
- In the pop-up that appears, click Yes, Enable.
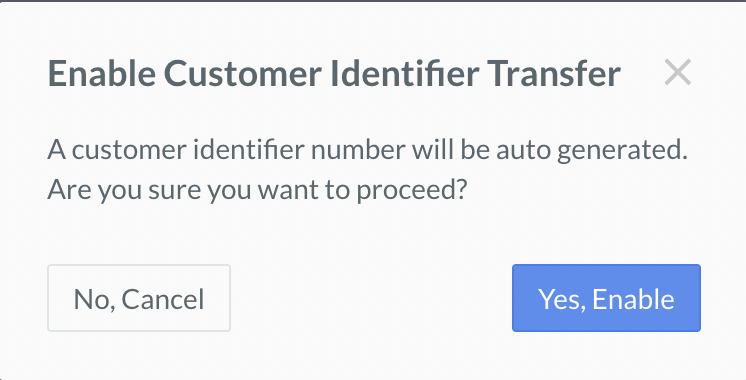
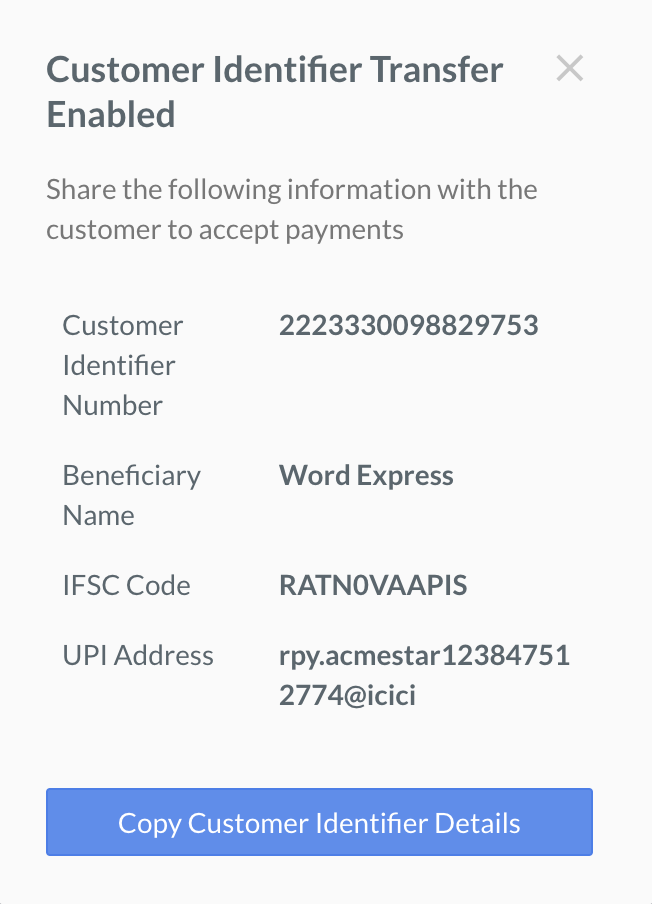
- The Customer Identifier details will then be auto-generated as shown below: