Tutorial - How to Create No Cost EMI Offers
Create No Cost EMI Offers from the Axis Dashboard using an example.
Let us create an offer from the Dashboard using an example.
Assume you are the manager of Acme Mobiles and Accessories, an online smartphone store. You want to provide discounts on online purchases to attract customers and increase sales.
You want to create a Diwali Offer with the following settings:
Let us create this offer.
Follow these steps to create No Cost EMI Offers:
- Log in to the Dashboard.
- Navigate to Offers and click Create No Cost Emi.
- The Create an Offer wizard appears with the following four sections. Enter details in all these sections for the offer to be created:
- You can review the Offer configurations at the end, in the tab.
In the Description section, enter the following details. All the fields are mandatory.
- Offer Name - Enter the name of the offer. For example, Diwali Dhamaka.
- Display Text - Enter a meaningful description for the Offer. For example, No Cost EMI Offer. This will appear on the Checkout.
- Terms - Enter terms and conditions that are applicable for this Offer.
- Click Next.
In the Discount Type section, enter the details of the discount that should be applied for the Offer.
- Minimum Order amount - Enter the minimum bill amount for which the No Cost EMI Offer can be applied. For example, customer must purchase an article of at least ₹4000 to avail No Cost EMI. This is a mandatory field.
- Maximum Order amount - Enter the maximum bill amount for which the No Cost EMI Offer can be applied. For example, customer can avail No Cost EMI if they purchase a phone of maximum worth ₹300000.
- Click Next.
In the Applicable On tab, fill in the following details:
- Issuer - Select the bank that will be issuing the No Cost EMI. For example,
Kotak Mahindra Bank. - EMI Tenure - Select the tenures to be listed on Checkout. This also displays the discount that will be borne by you. For this example, we will select 3,6 and 9 months as the tenures supported.
- Click Next.
In the Offer Validity tab, set how long the offer should be valid and how you want to handle the payment failure situations:
- Starting On - Select the Starts Immediately checkbox for the offer to come into effect immediately.
- Expires On - Select the date and time at which the Offer should end. For example, 31 Oct 2020 at 11:59pm.
- On Payment Failure - Define how to handle payment failure.
- Do not allow payment to go through: The payment is failed.
- Allow customer to pay without availing offer: The payment is allowed even though the set validations are not met. However, the Offer is not applied to the bill amount. The customer will be charged the entire order amount.
We will allow payments to go through without offer being availed.
- Max Usage - Set the number of times the Offer should be applied across all transactions. For example, 100.
- CShow Offer on Checkout - Select this checkbox for the created Offer to be displayed on all Standard Checkout renders including .
- Click Next.
Click the Overview tab to view the summary of the Offer that you just created.
Terms and Conditions- Select the checkbox after reading the disclaimer.- Click Create Offer.
By default, all the created Offers will be in enabled state.
You can test the created No Cost EMI offer for all Standard Checkout payments, including
, , and so on.Handy Tips
-
You can toggle between Live and Test Modes on your Dashboard. Navigate to the top menu ribbon and click the drop-down icon against Live Mode. Toggle to Test Mode and test the offers enabled.
-
You can make test payments using one of the payment methods at the Checkout. No money is deducted from your account as this is a simulated transaction.
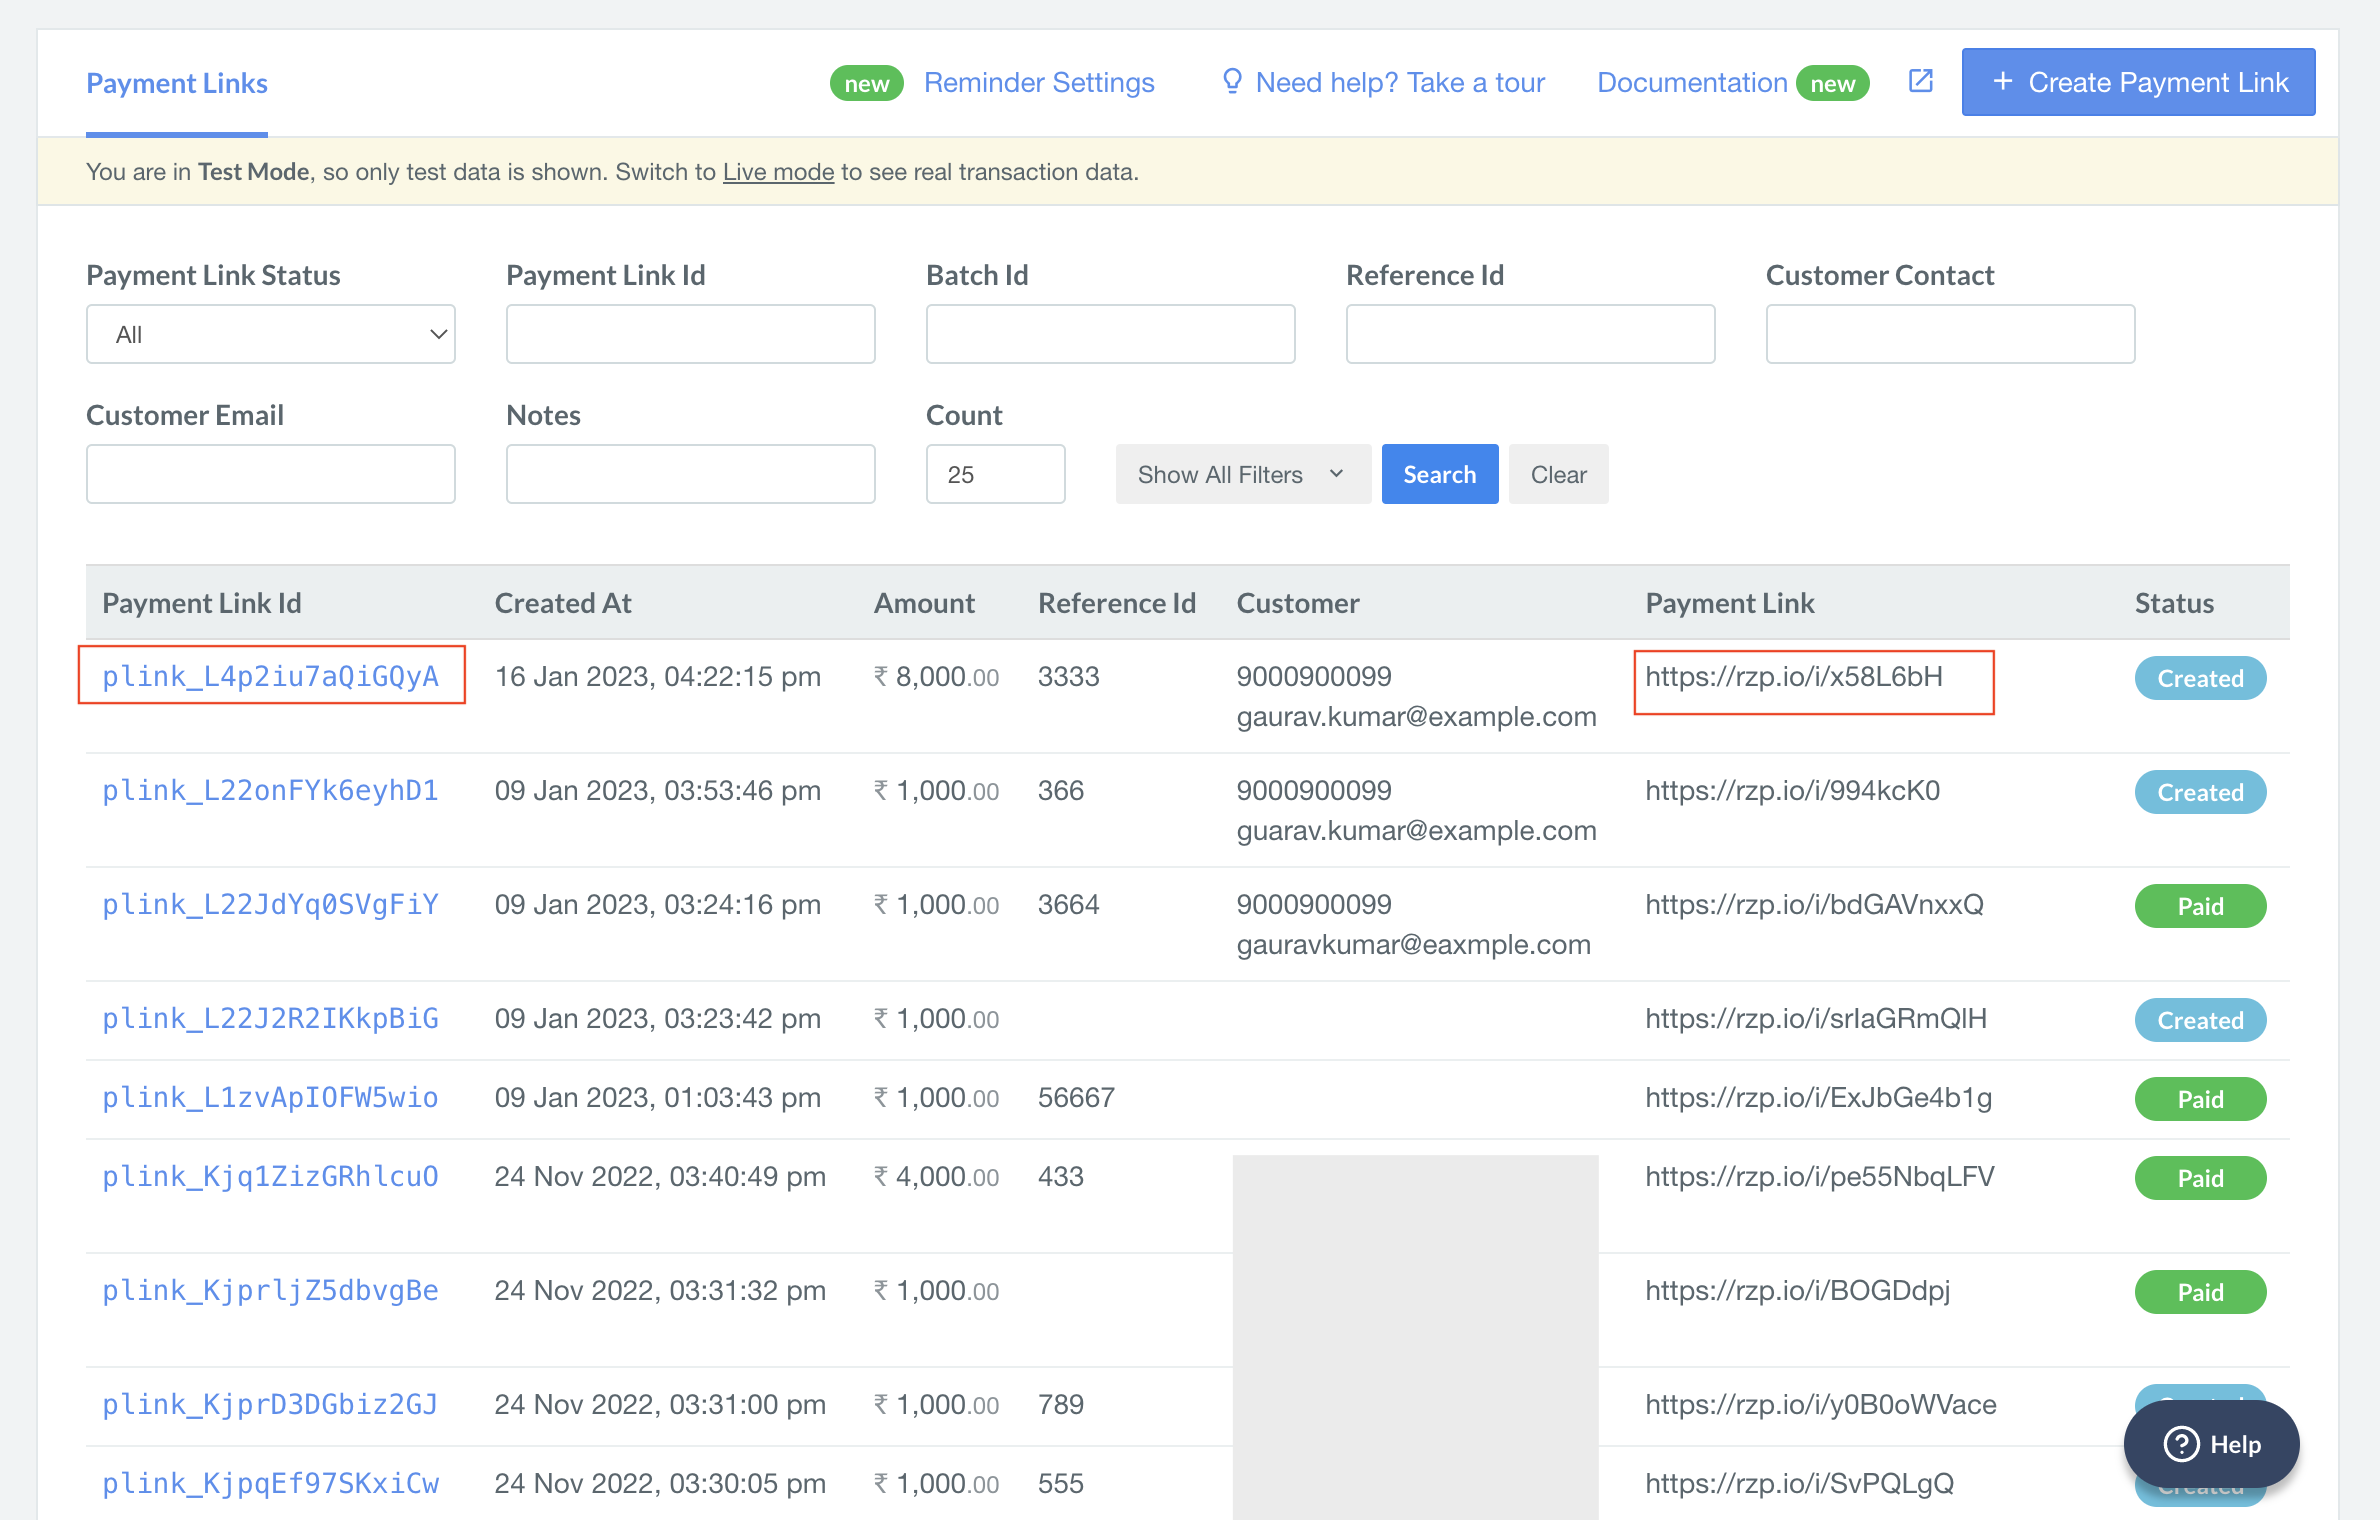
For this example, we will test the offer on a valid Payment Link. Follow the steps given below:
- Select the Payment Link Id you wish to test the created offer from the Dashboard.
- Copy the Payment Link URL and open it in your browser.
- Enter your contact details and click Proceed.
- Select EMI.
- Select the payment option you created the offer on from the Dashboard. Enter the required .
- Select Success or Failure, depending on which flow you wish to test.
- You should see a confirmation message depending on the flow you have selected.
On successful payment, you should have received a discount on your payment. You can verify this by navigating to the Transactions → Payments tab and viewing the payment details.
Now that the No Cost EMI Offer is created, you should integrate it in Checkout for customers to avail the EMI scheme.
Know how to integrate Offers in
.